For stores whose inventory in various warehouses is running low and need to order products from suppliers to re-stock, Adding a purchase order is simple. Here are three methods for creating a purchase order:
1. Add Purchase by item (Add)
1. Go to the “Purchases” menu under “Purchases”
2. Click on the “Add”
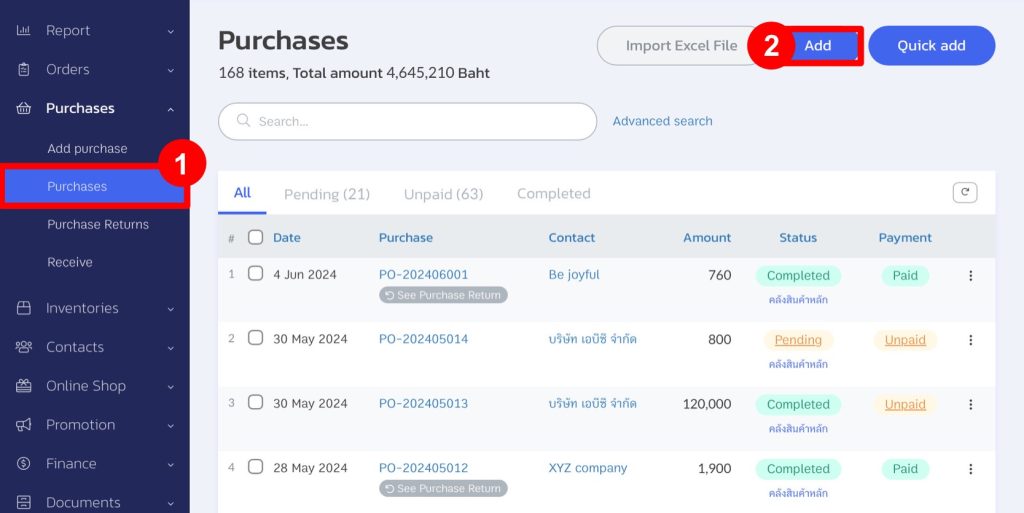
3. The system will display fields for adding a purchase as shown below
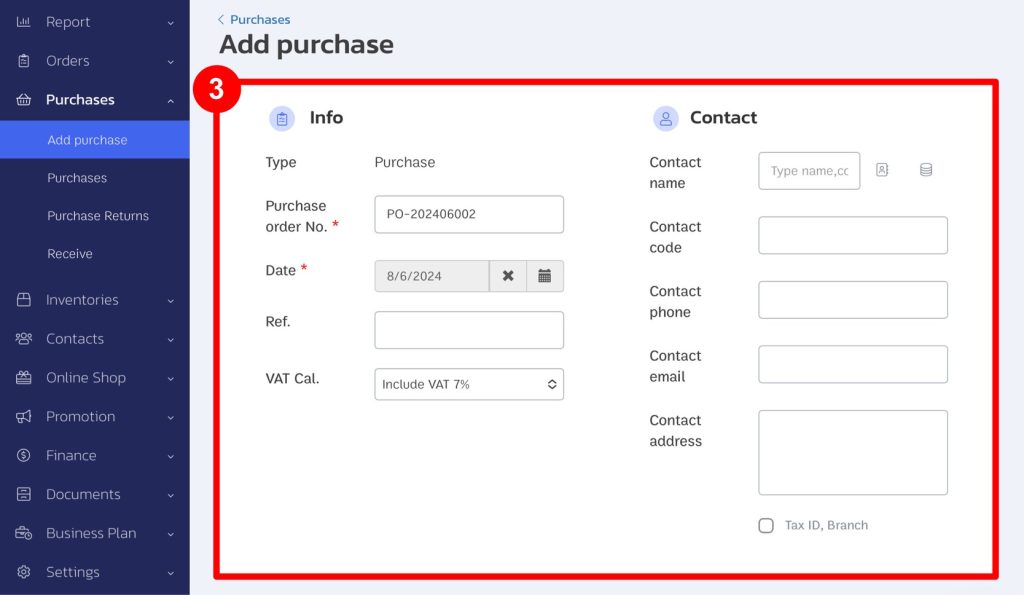
4. Enter purchase information in 6 parts:
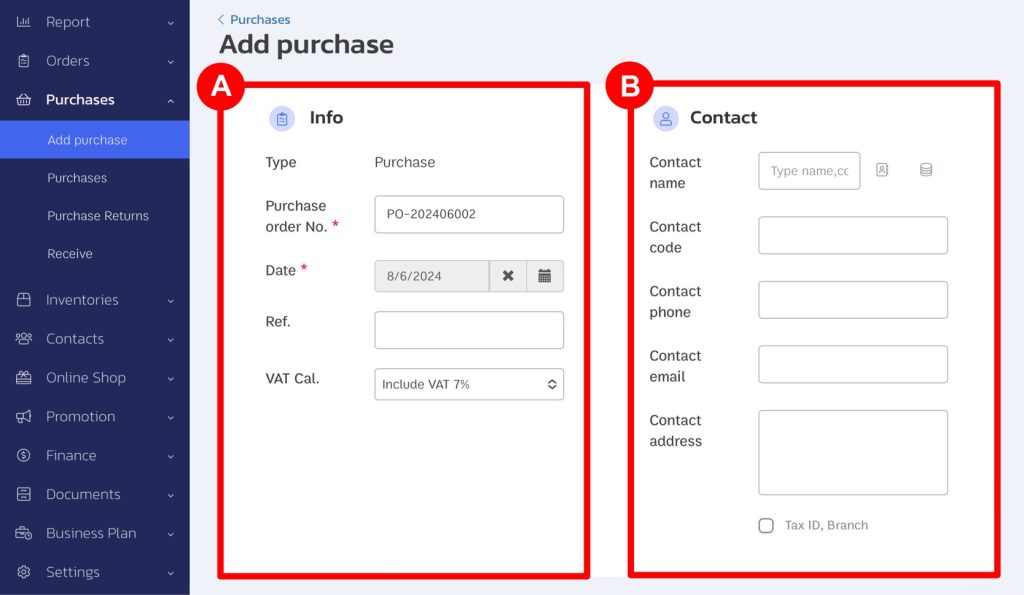
A. Purchase details will show the purchase order number, date, reference number, and VAT Cal.
B. Contact details will show the contact name, contact code, contact phone, contact email, and contact address.
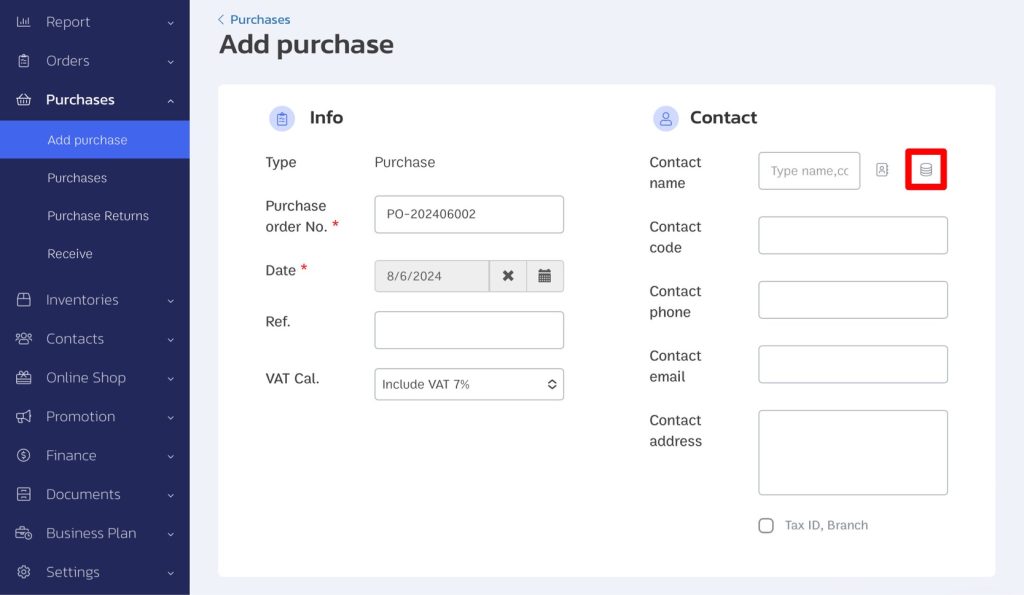
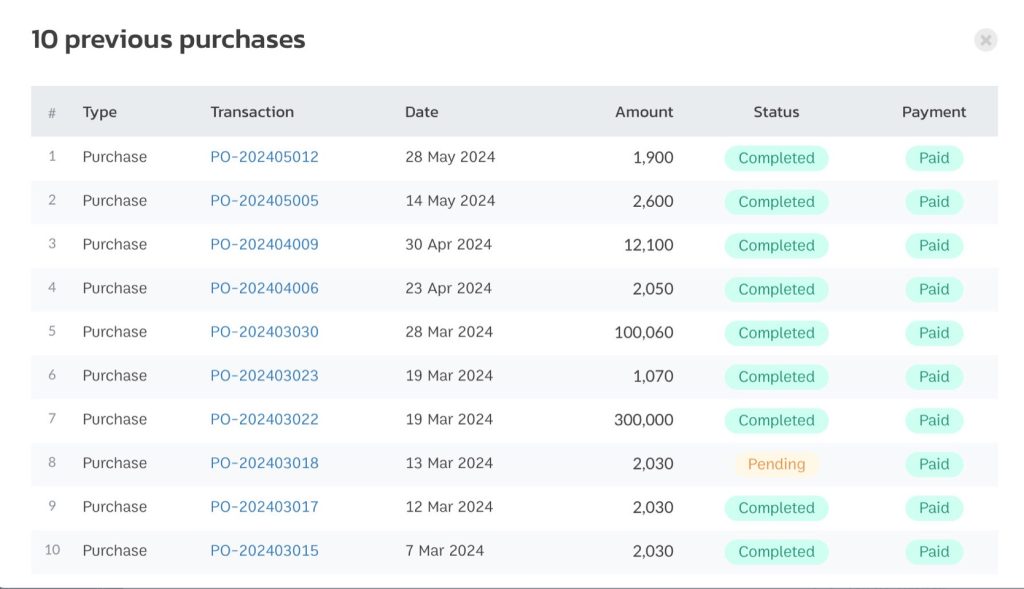
To review which purchase orders have been made from suppliers, click on the “Purchases” icon. The system will display information on previous purchase orders up to 10 items (Select contact information before viewing previous purchase orders).
Example of previous purchase order data (View up to 10 previous orders).
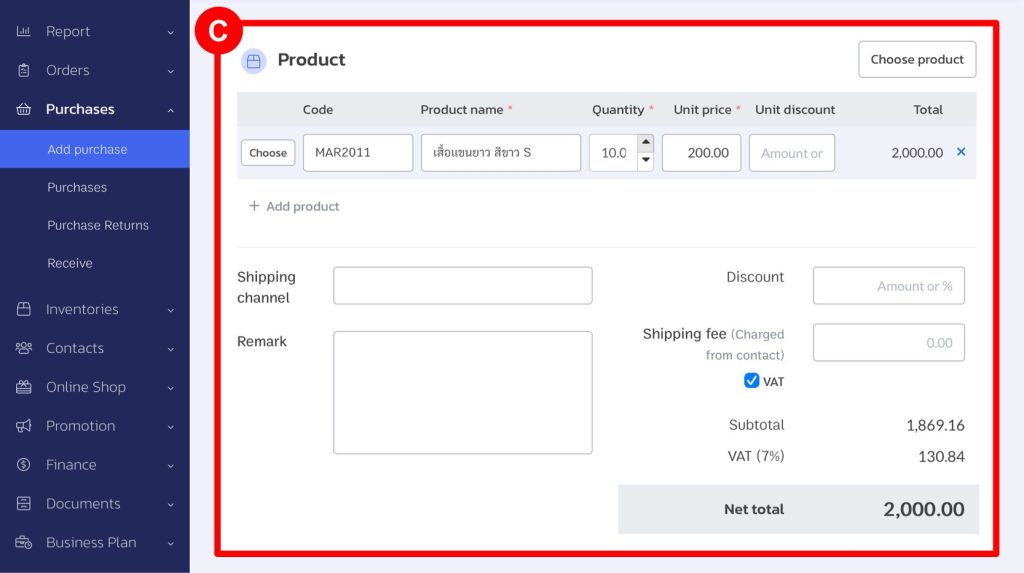
C. Product: You can select products, choose shipping channels, or enter remarks, end-of-bill discounts, and additional shipping fees.
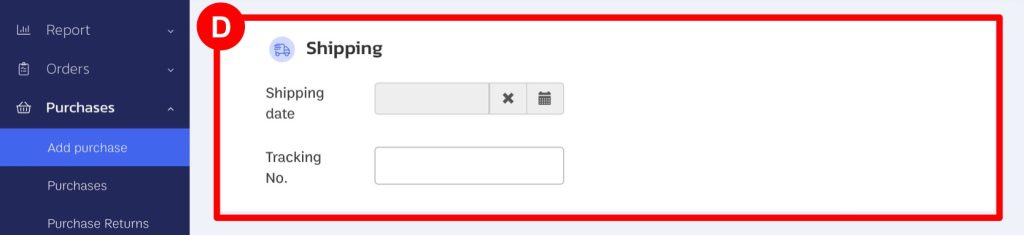
D. Shipping: Specify the product shipping date and tracking number.
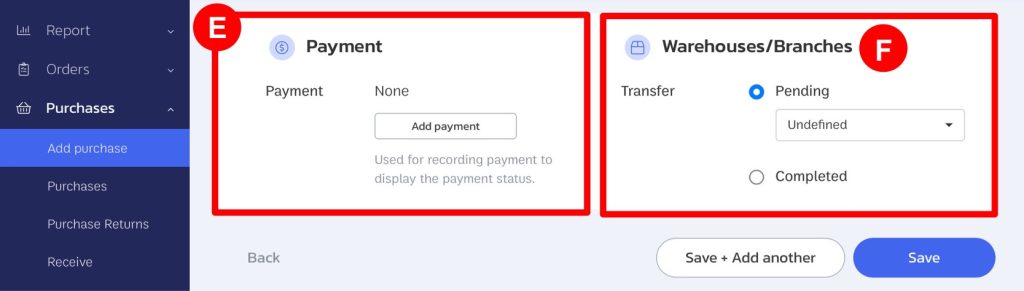
E. Payment: If the store has paid, press the “Add Payment” button to save the information.
F. Warehouse/Branches: You can select the status as “Pending” if the supplier has not shipped the products, or choose “Completed” if the products have been received in the warehouse, and the store can specify the desired inventory.
5. After successful saving, the purchase will appear as shown in the image below.

2. Add Purchase by Quick Add
For purchases that do not require detailed contact information or various order statuses.
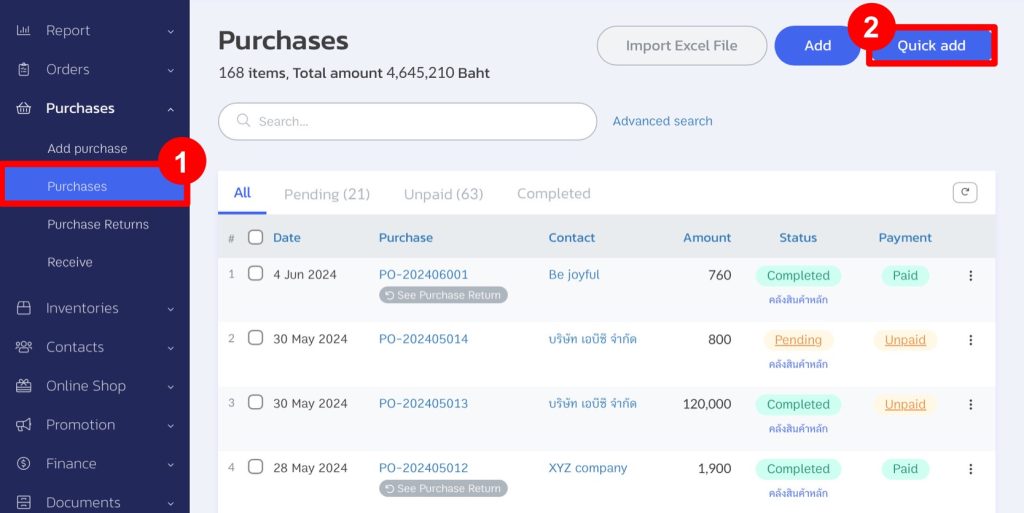
1. Go to the “Purchases” menu under “Purchases”
2. Click on the “Quick add”
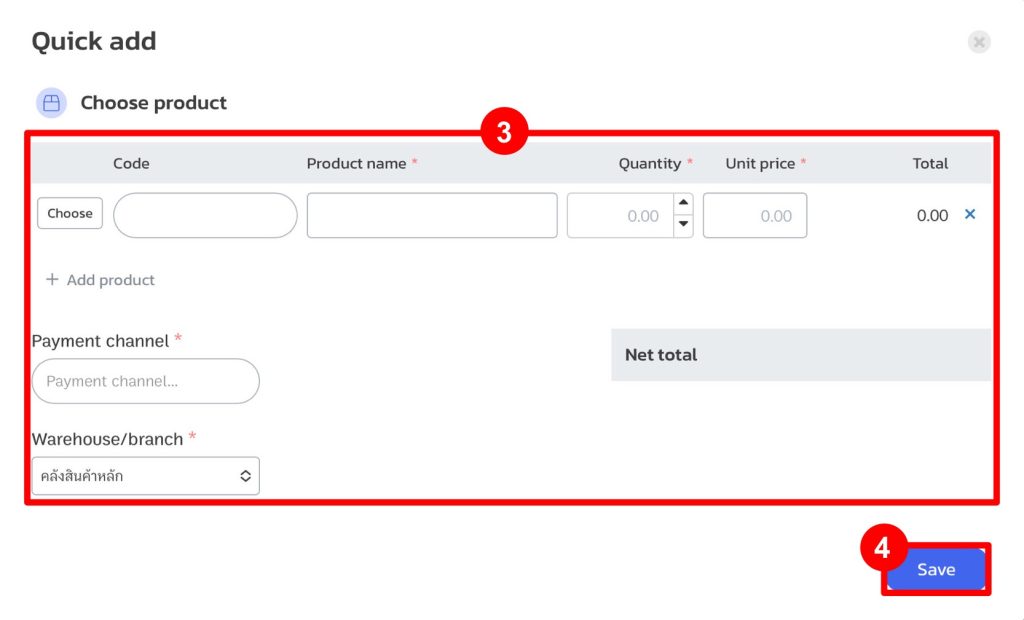
3. Enter product details, select payment methods, and specify the inventory completely.
4. Click “Save”
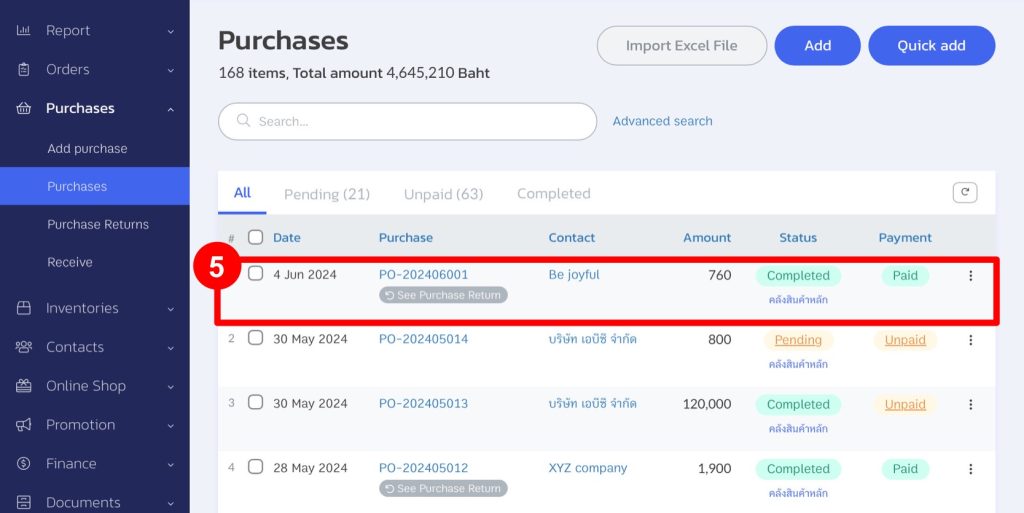
5. After successful saving, the purchase order will appear as shown in the image below.
3. Add Purchase by an Excel file (Import Excel File)
To create a purchase from an Excel file, download the template from the system to import data according to the specified information.
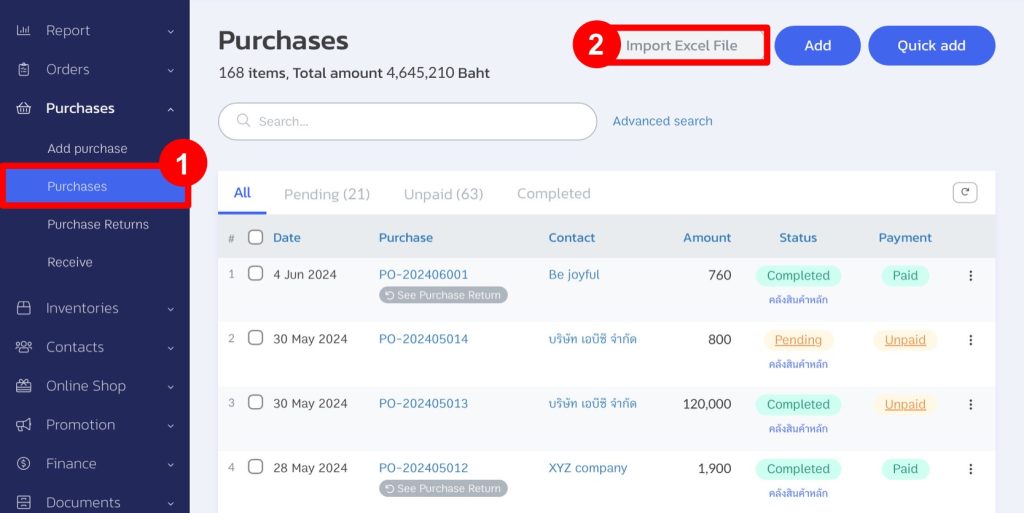
1. Go to the “Purchases” menu under “Purchases”
2. Click “Import Excel File”
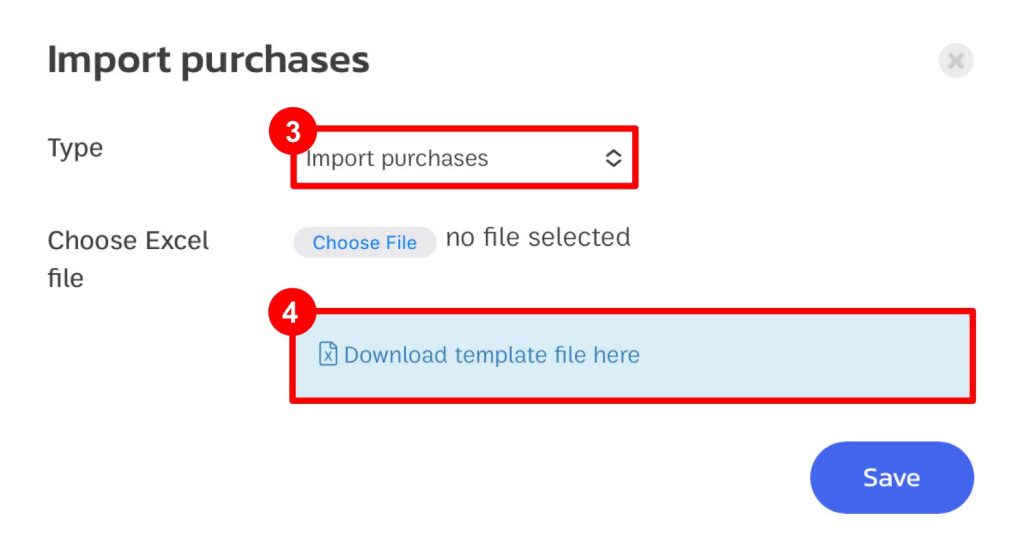
3. Select “Import Purchases”
4. Download the template file
5. Upon opening the file, you will find an example of how to fill in the purchase order data. The store can enter the required information directly.

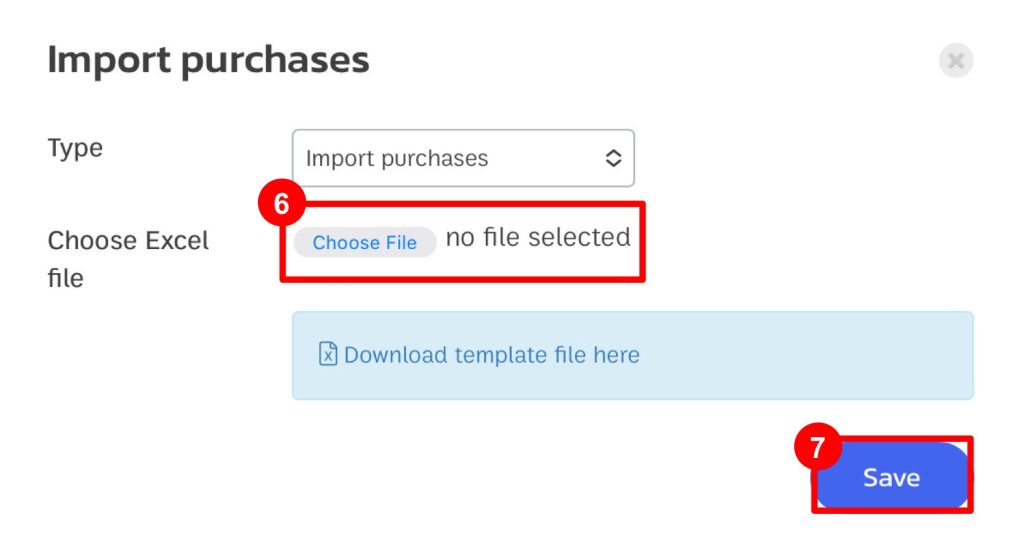
6. Return to the system page, click “Choose File”
7. Click “Save”
With these steps, the store can create purchase orders to replenish their stock efficiently.
If you are interested in utilizing our comprehensive store management system,
we encourage you to reach out for further information. Please do not hesitate to contact us at:
Phone: 02-026-6423
Email: support@zortout.com
LINE: @zort


