Businesses can organize their inventory systematically using Serial Numbers with ZORT, making it easier to search for products, manage information, and conduct transactions. Setting up Serial Numbers is straightforward and can be easily configured within the ZORT system.
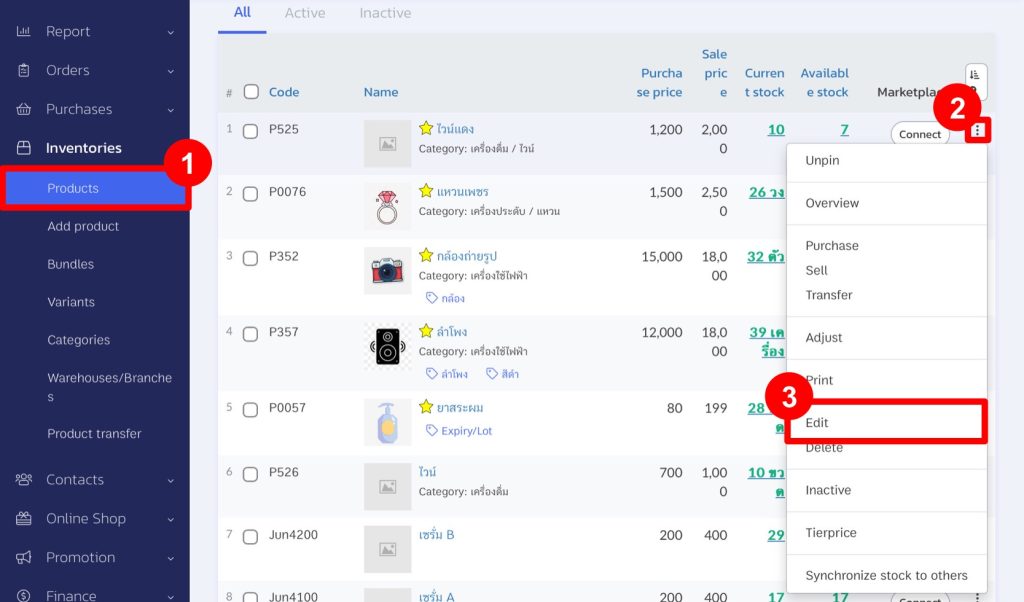
1. Go to the “Inventories” menu and select “Products”.
2. Click on the “three dots” next to the product you want to add Serial Numbers to.
3. Click on “Edit”.
4. Select “Program”.
5. Check the box for “Serial Number”.
6. Click on “Save”.

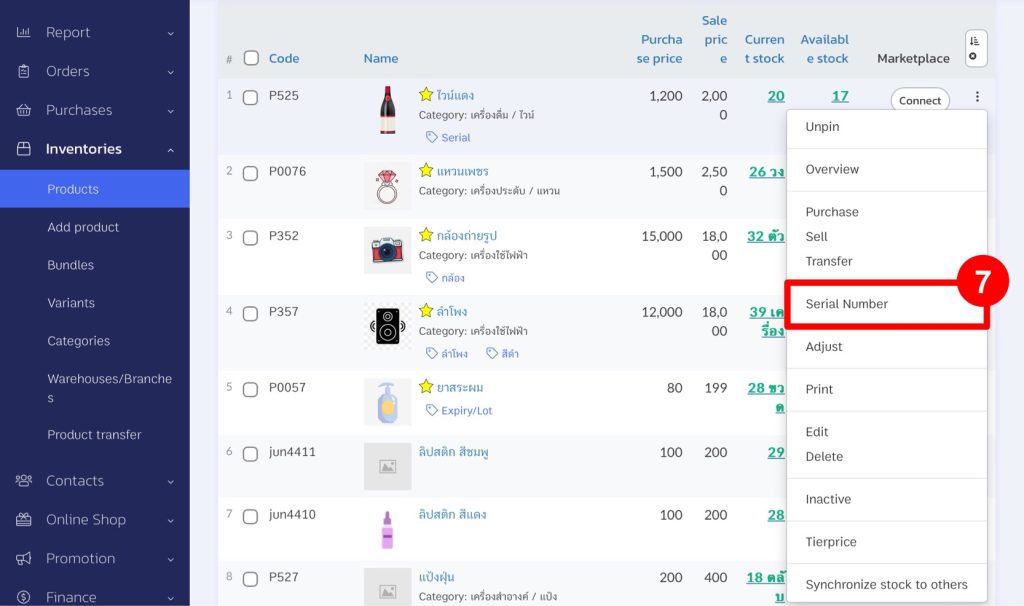
7. Once configured, a “Serial Number” menu will be added to the product’s command menu.
Adding Serial Numbers
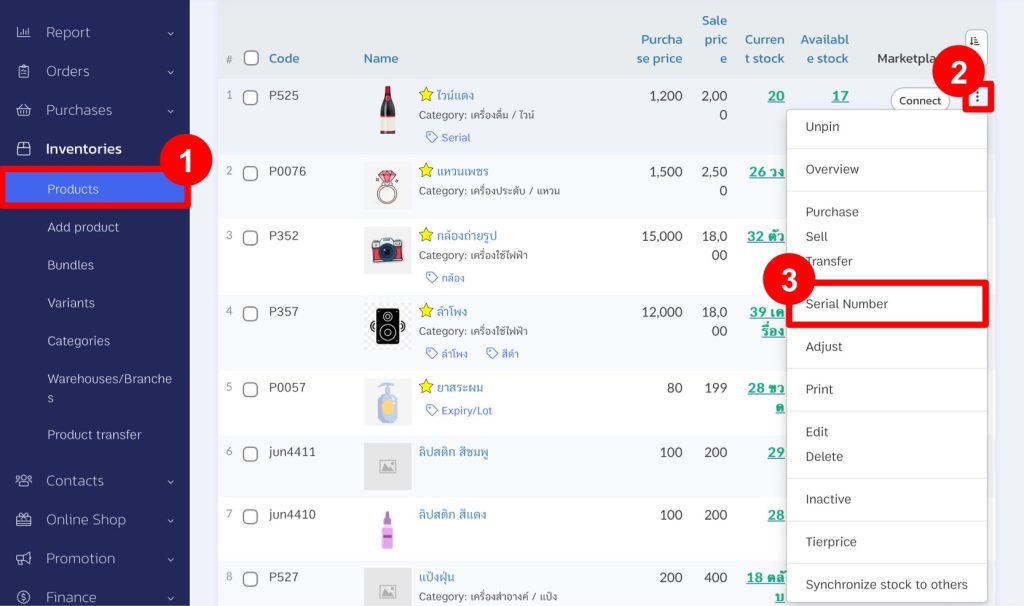
1. Go to the “Products” menu under “Products”.
2. Click on the menu command (three dots) next to the product you want to add Serial Numbers to.
3. Select the “Serial Number” menu for that product.
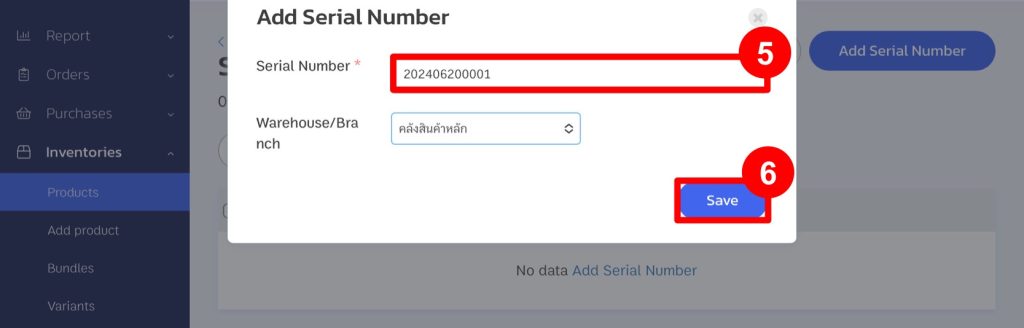
4. Click on “Add Serial Number”.
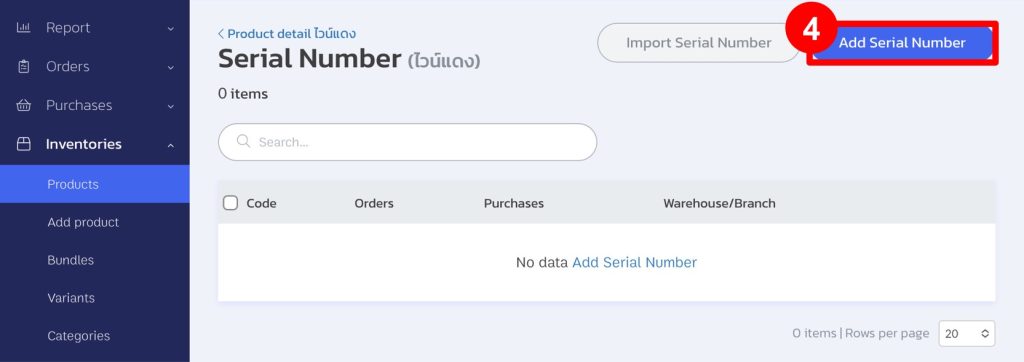
TIP: Users may opt to add individual codes one at a time or to add multiple codes simultaneously by importing them from an Excel file
5. Enter the Serial Number(s) you want to add.
6. Click on “Save”.
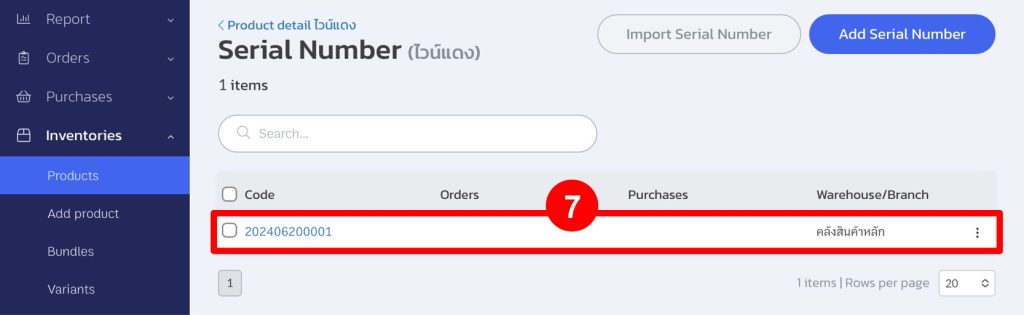
7. Afterwards, the added Serial Numbers will appear as shown in the example image.
Assigning Serial Numbers in Sales Orders
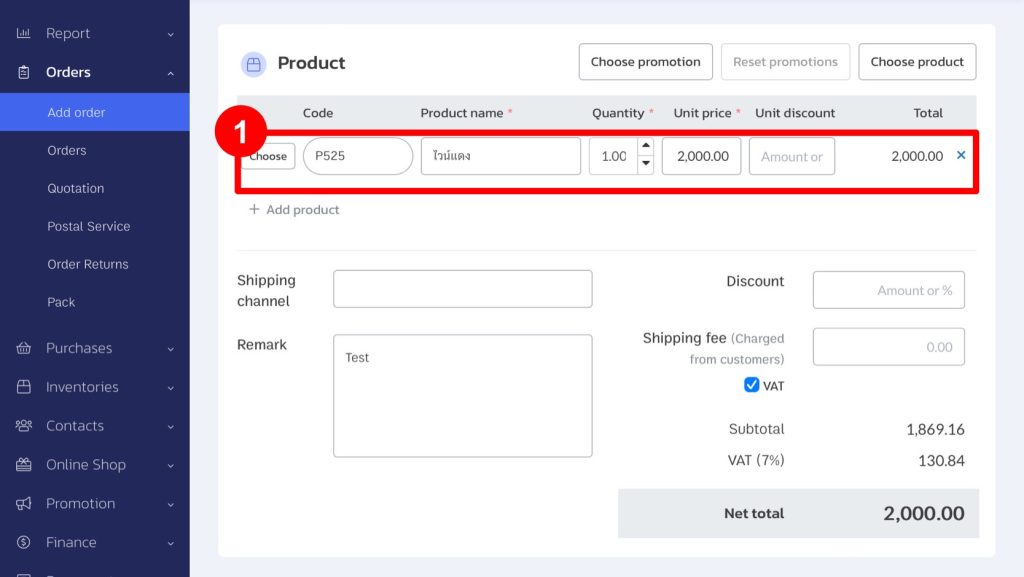
1. Create an order for products that have Serial Numbers.
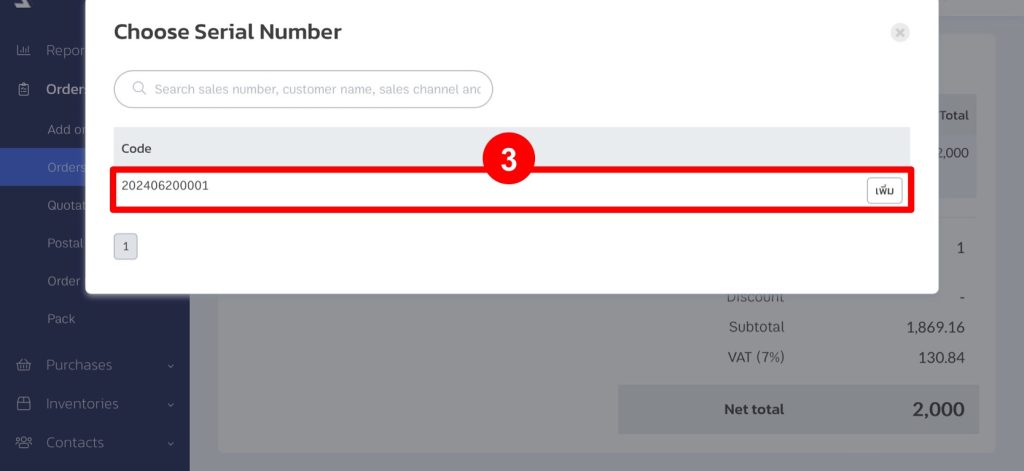
2. After saving the order, you will see an “SN” button next to the product. Click on “Add Serial Number”.
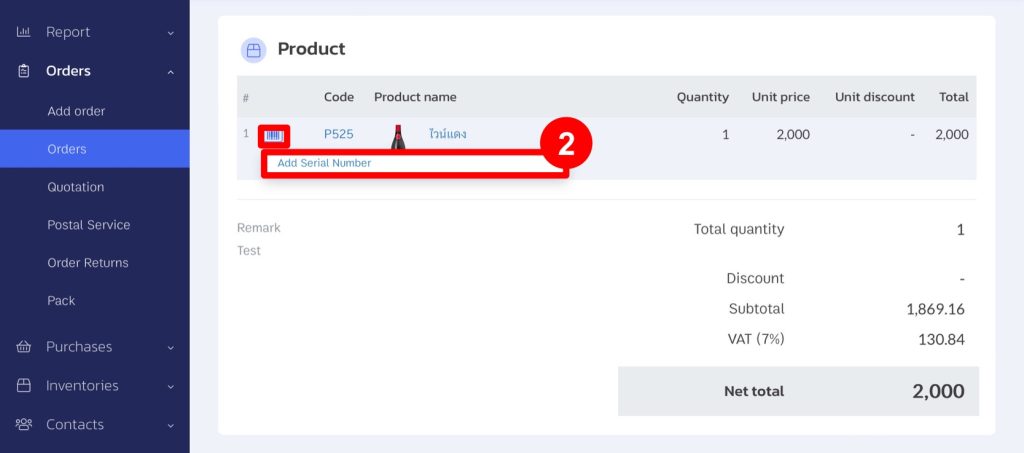
3. Select “Add” for the Serial Number.
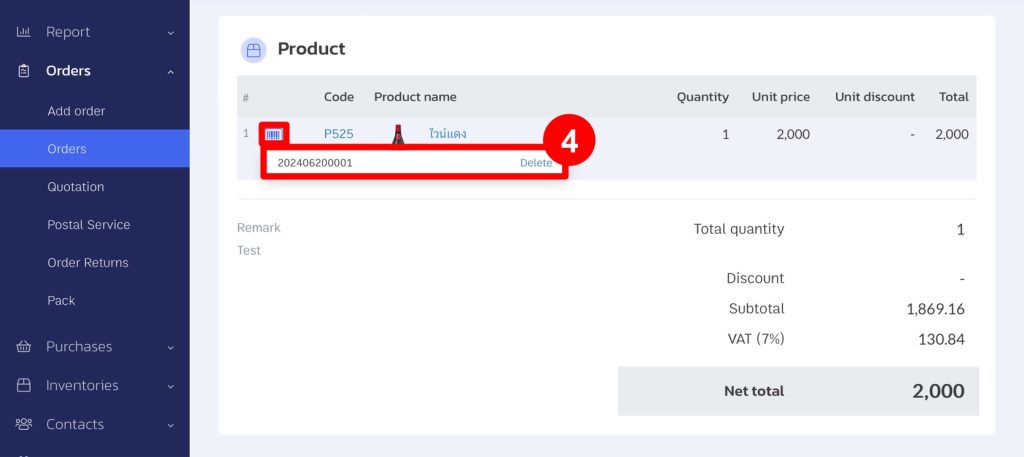
4. The Serial Number will appear next to the product in the order.
If you are interested in utilizing our comprehensive store management system,
we encourage you to reach out for further information.
Please do not hesitate to contact us at:
Phone: 02-026-6423
Email: support@zortout.com
LINE: @zort


