For stores looking to print barcodes or QR codes for product labels using the Xprinter XP-420B Barcode Printer, follow these steps:
Equipment Needed
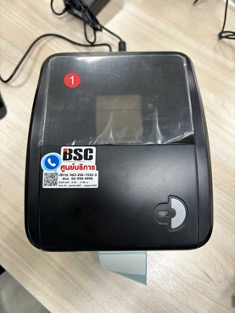
- Barcode Printer (Xprinter XP-420B)
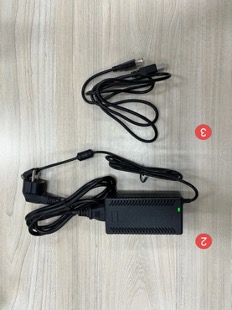
- Power Cable and Adapter
- USB Cable to connect to a computer/notebook
Connecting the Barcode Printer (Xprinter XP-420B)
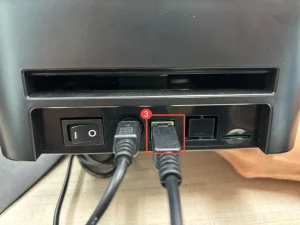
- Locate the connection ports at the back of the printer.
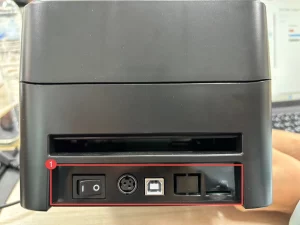
- After connecting the power cable to the adapter, plug the round end of the cable into the first port.
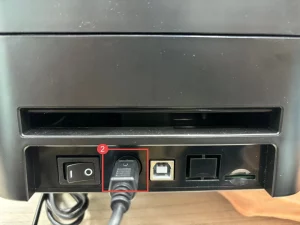
- Plug the square end of the cable into the second port to connect the printer to your computer.
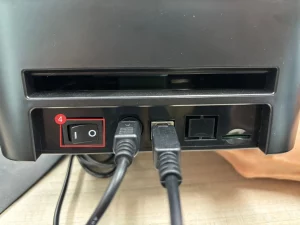
- Turn on the printer by pressing the button on the left side.
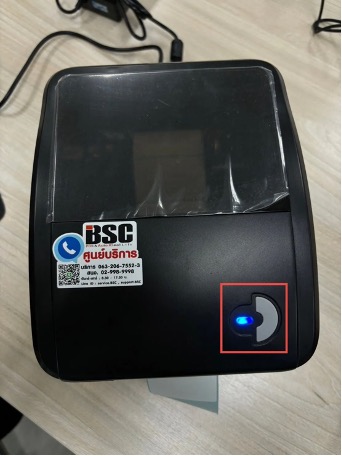
The LED will turn blue once the printer is powered on.
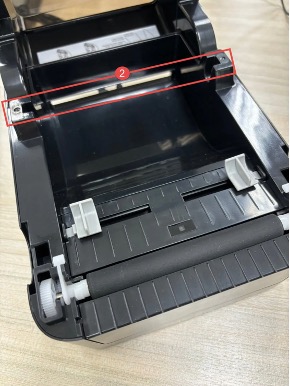
Loading the Paper Roll
- Press the gray button on the side to open the paper roll compartment.
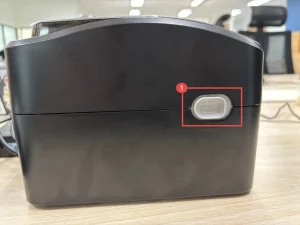
- Place the paper roll spindle inside the compartment.
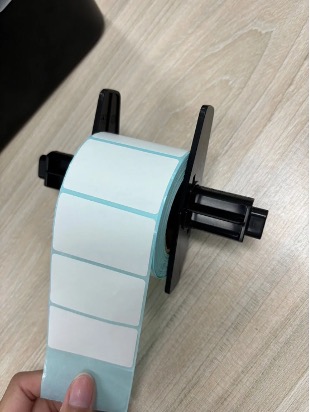
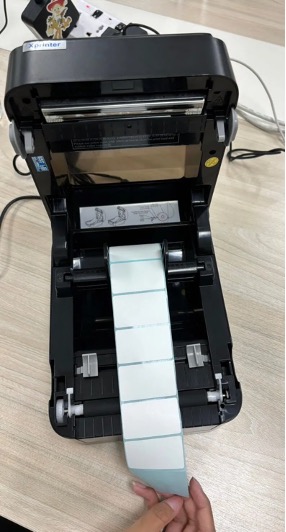
Insert the roll of paper as shown in the example below
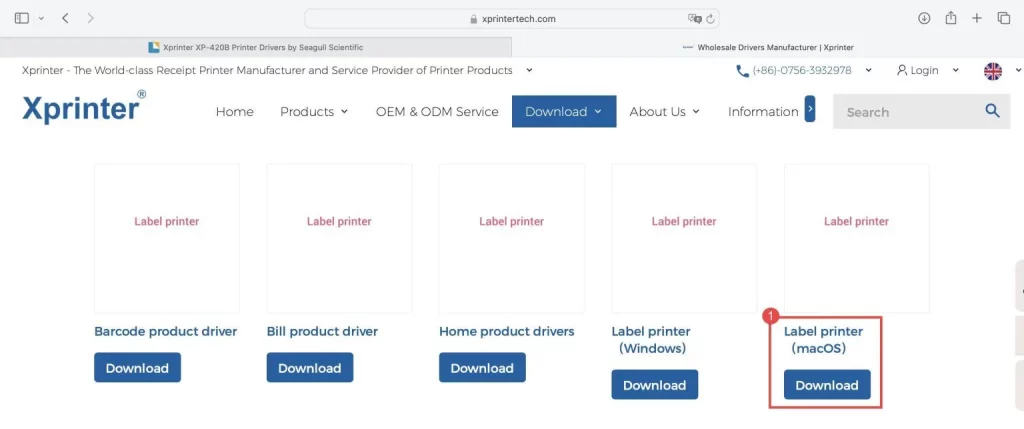
Installing the Driver for Barcode Printer on macOS
- Download the macOS driver from the official website: Xprinter Drivers.
- Extract the downloaded file using any file extraction software.

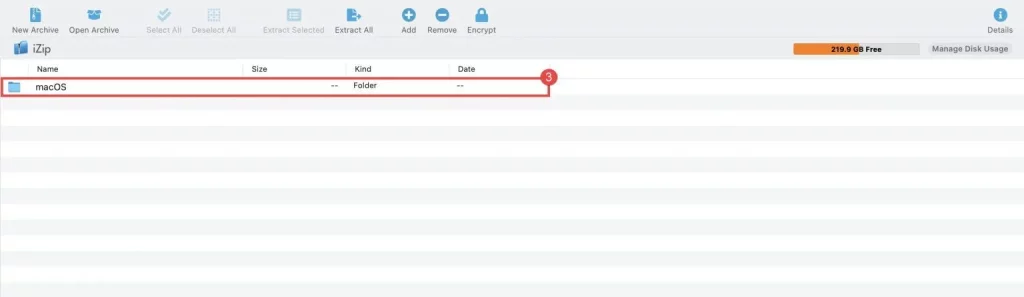
- Go to the macOS folder.
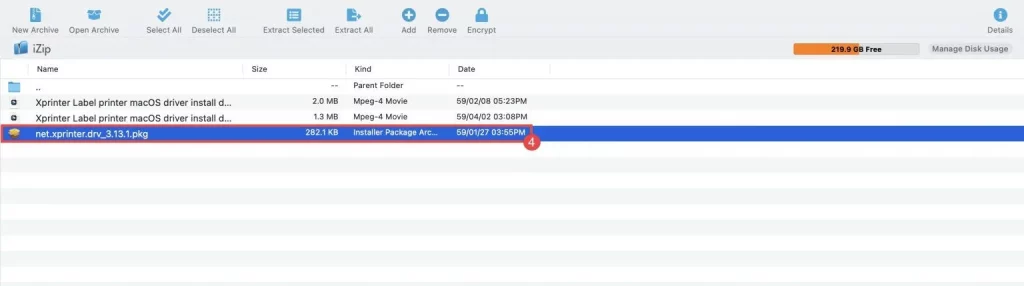
- Click on “net.xprinter.drv_3.13.1.pkg.”.
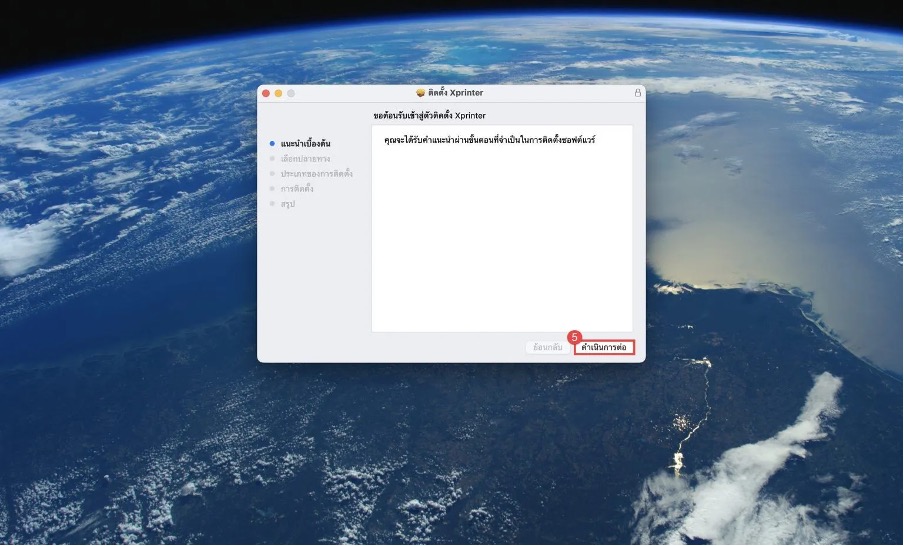
- Follow the on-screen prompts to install the software by clicking “Continue”.
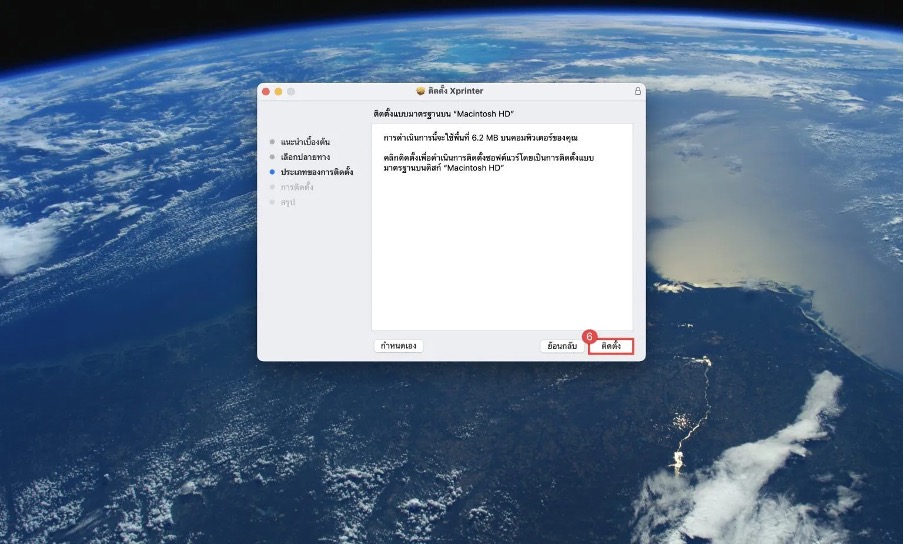
- Click “Install”.
- After installation is complete, click “Close”.

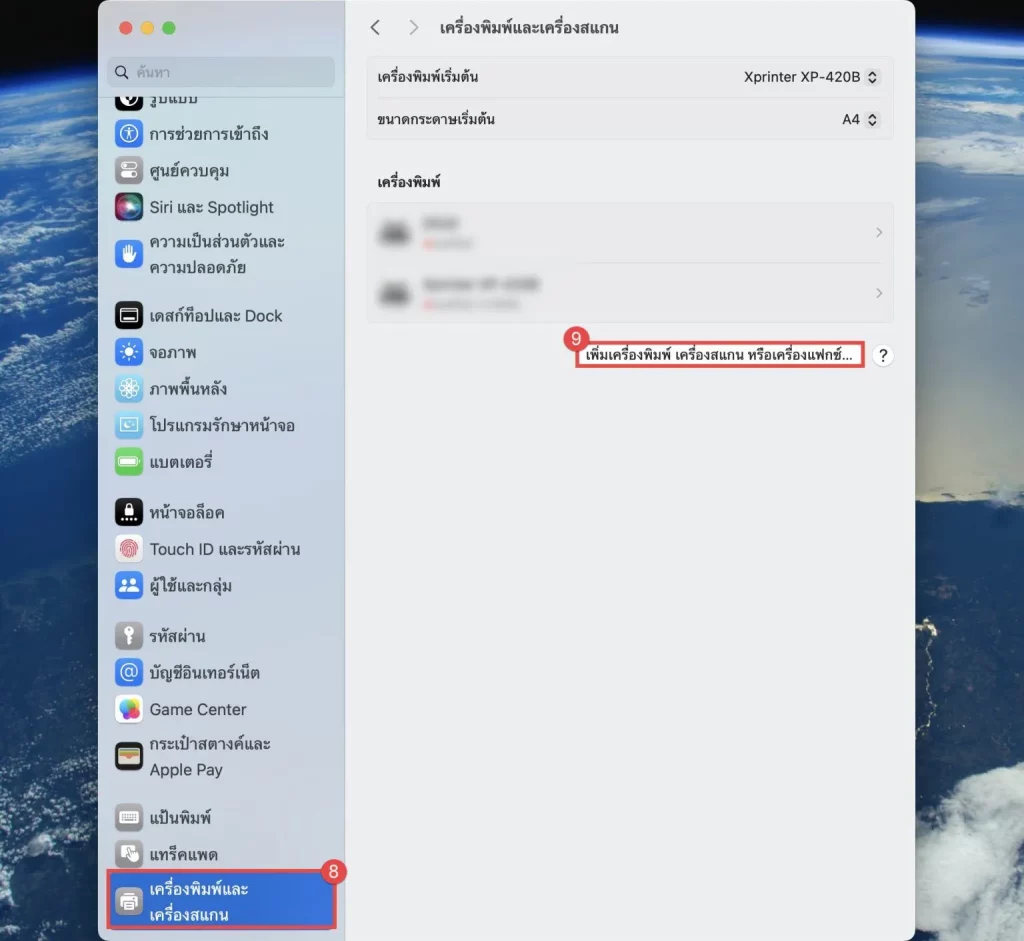
- Go to System Preferences and click on Printers & Scanners.
- Click on Add Printer….
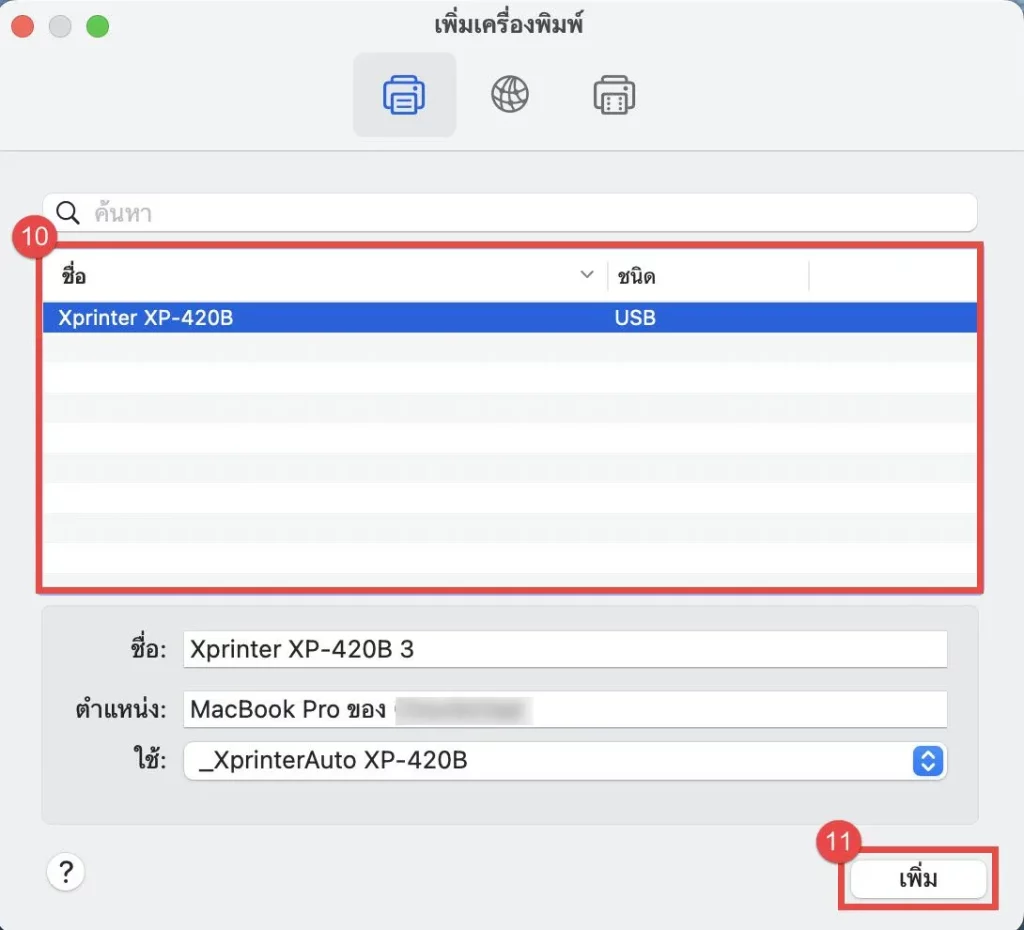
- Select the Xprinter from the available printer list.
- Click Add to complete the setup.
Printing Barcodes and Setting Paper Size in ZORT System
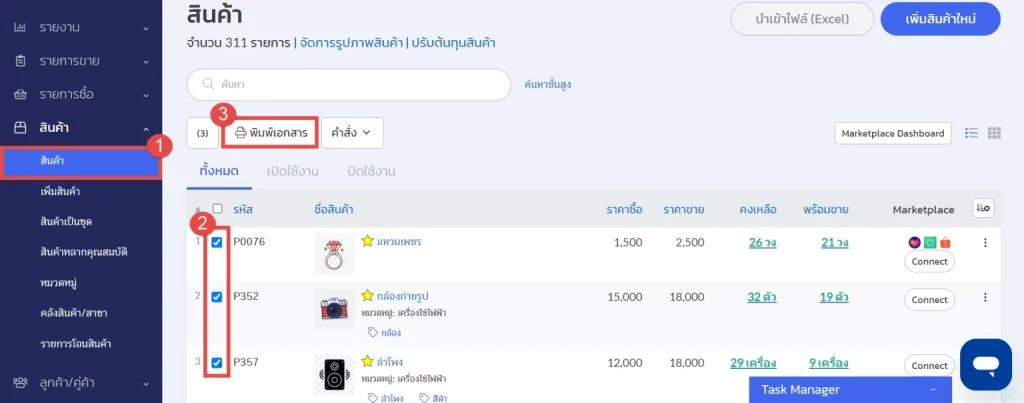
- Log in to the ZORT system and go to the “Inventories” menu.
- Select the product you wish to print the barcode for.
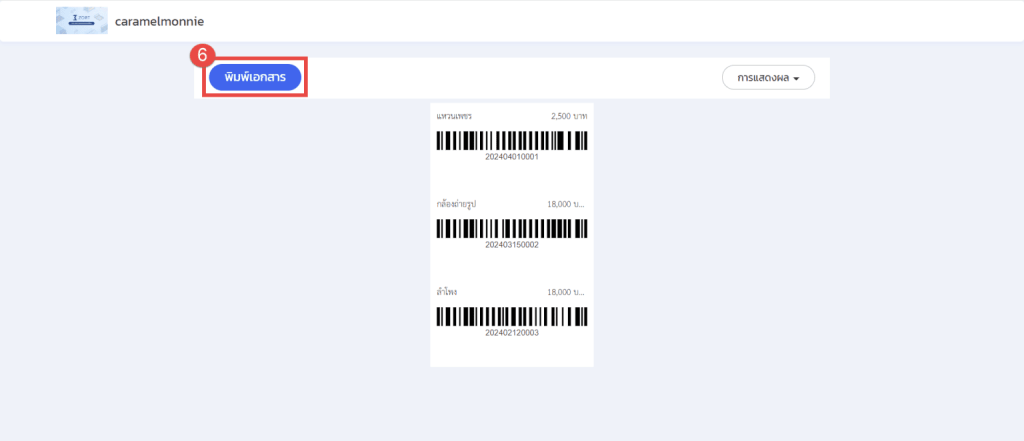
- Click on “Print”.
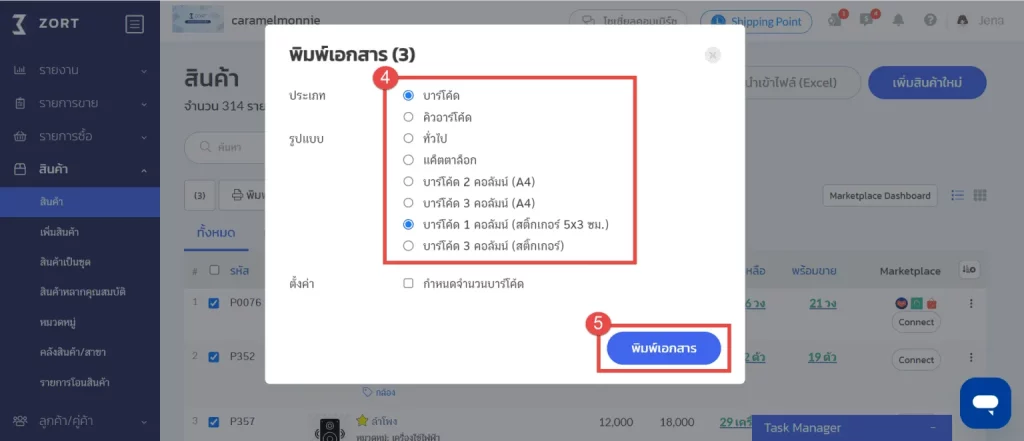
- Choose the desired document type and select the format “Barcode 1 Column (5×3 cm sticker)”.
- Click “Print”.
- Click “Print” again to initiate the printing.
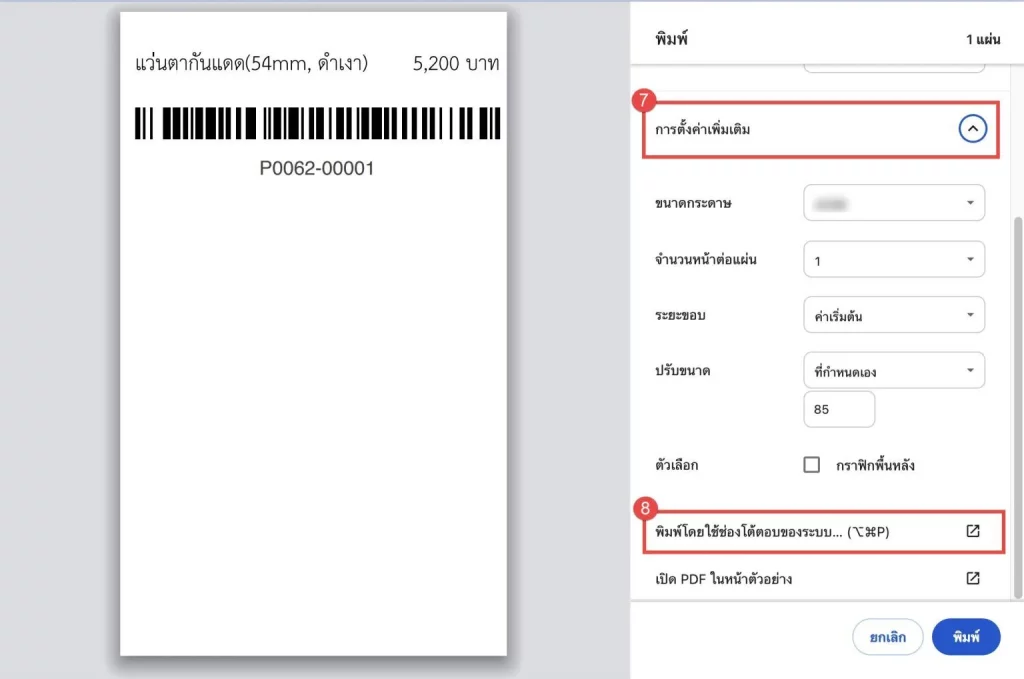
- Go to Additional Settings to adjust the paper size to match the roll size.
- Click Print Using System Dialog….
- In the pop-up window, go to Paper Size
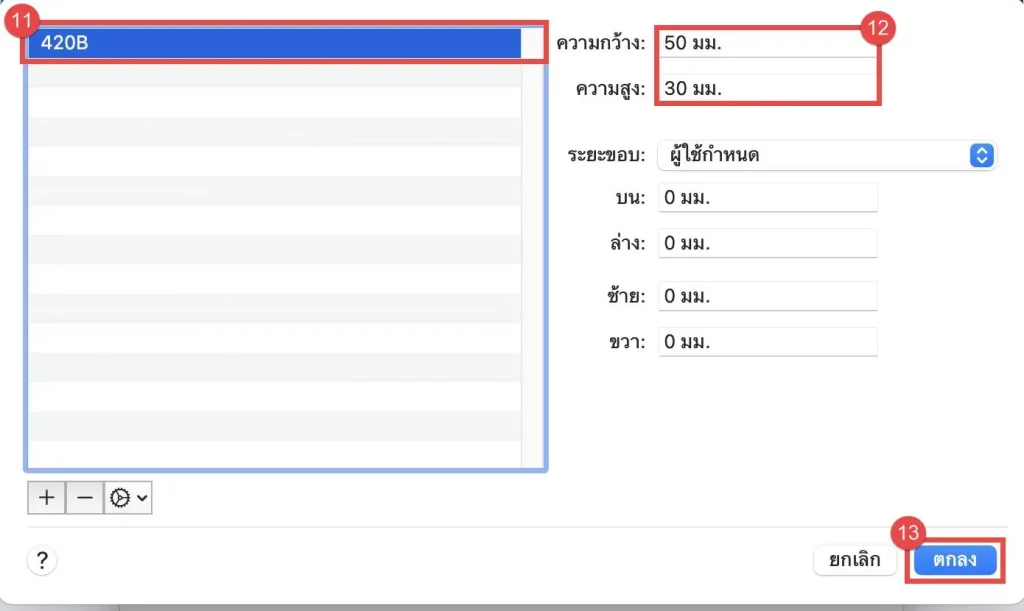
- Select Manage Custom Sizes….
- Set the paper size.
- Width: 50 mm and Height: 30 mm
- Click OK.
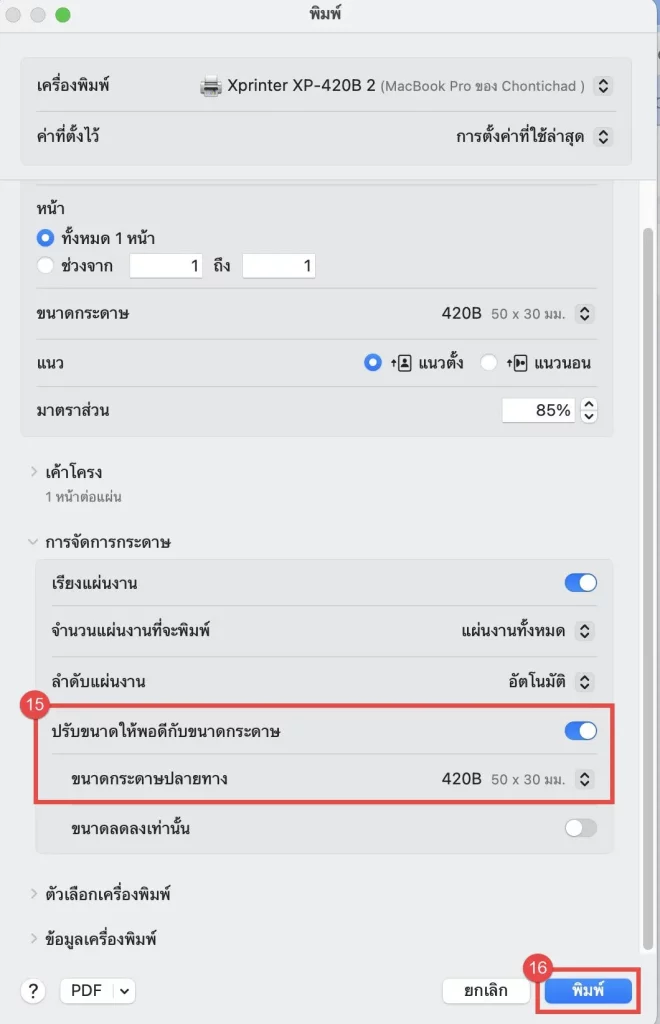
- After setting the paper size to 50 x 30 mm, go to Paper Management.
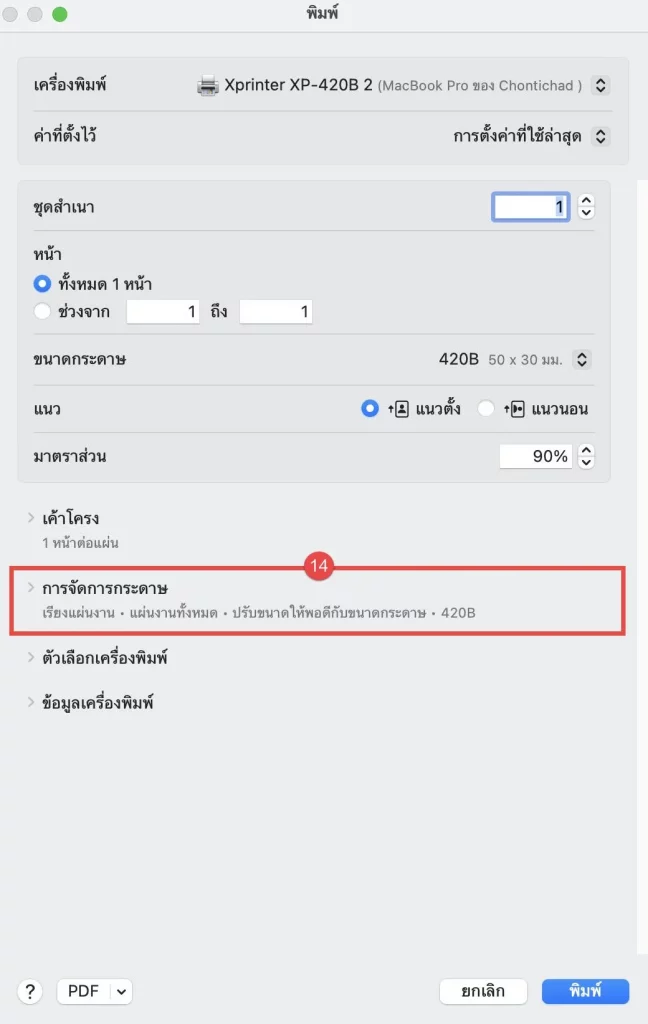
- Enable Fit to Paper Size and set it to 50 x 30 mm.
- Click Print to print the barcode.
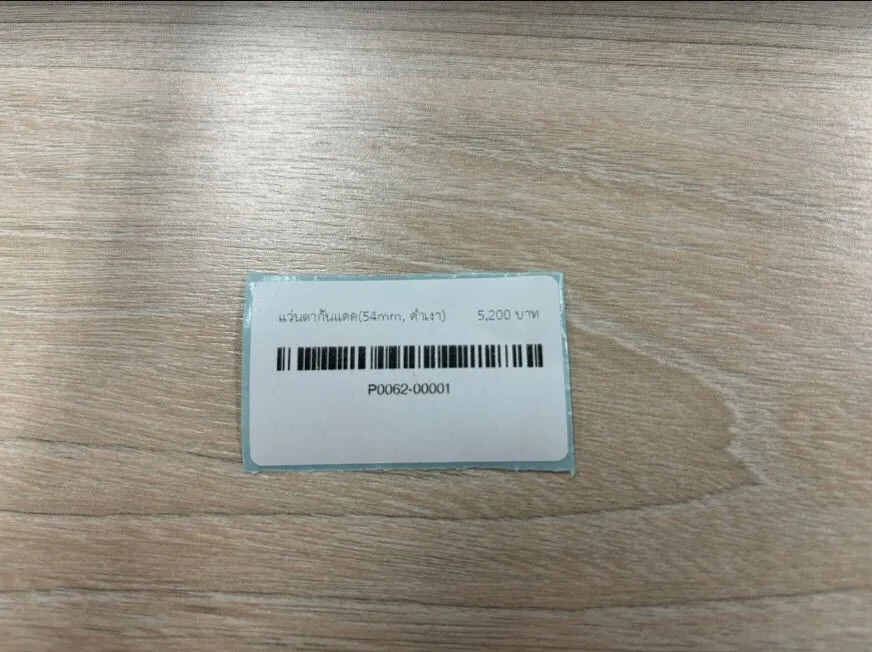
Example of Printed Barcode
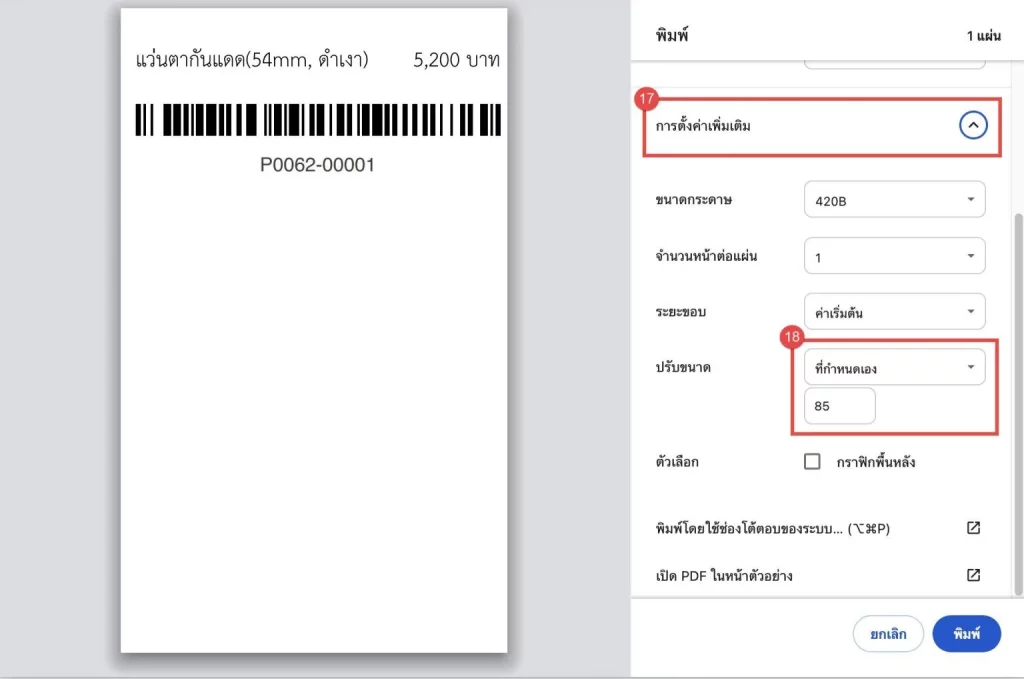
- If you need to adjust the display size, click Additional Settings.
- In the Size Adjustment section, select Custom and adjust the size as needed.
Now, you’re ready to print barcodes using your Xprinter XP-420B on iOS devices!
Interested in a Complete Store Management System?
For more information, contact us:
Email: support@zortout.com
Phone: 02-026-6423
Line: @zort


