A quotation is a document showing product and service information that a store issues to a customer to help them decide whether to place an order. For stores wanting to issue quotations, follow these steps:
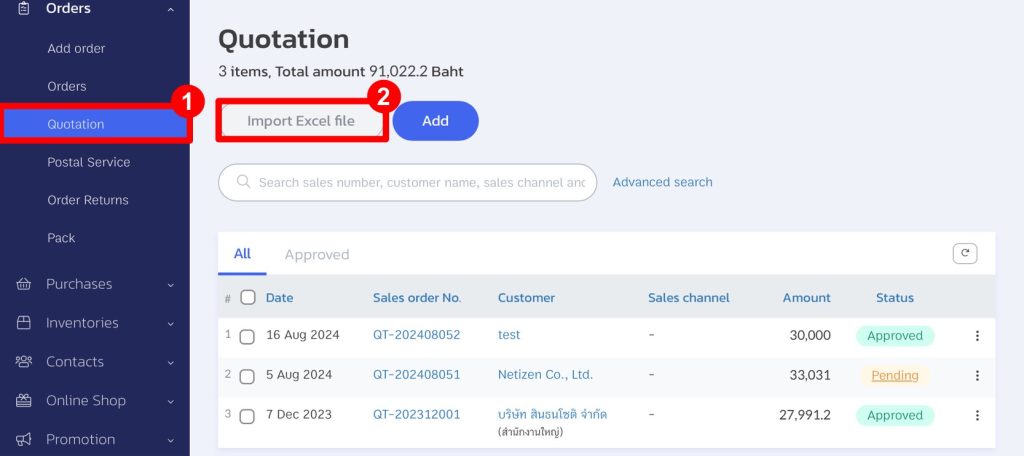
- Go to the “Orders” menu and select “Quotation”.
- Click the “Import Excel File” button.
- Click Download template (the template can be downloaded here).
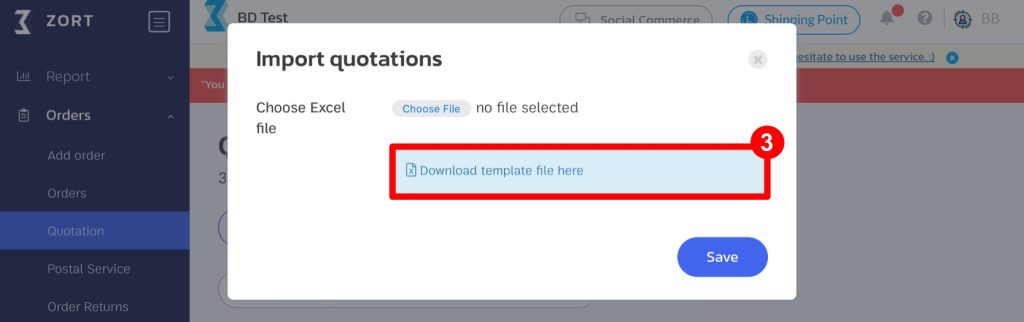
- The system will download the quotation template, and you can fill in the required information.
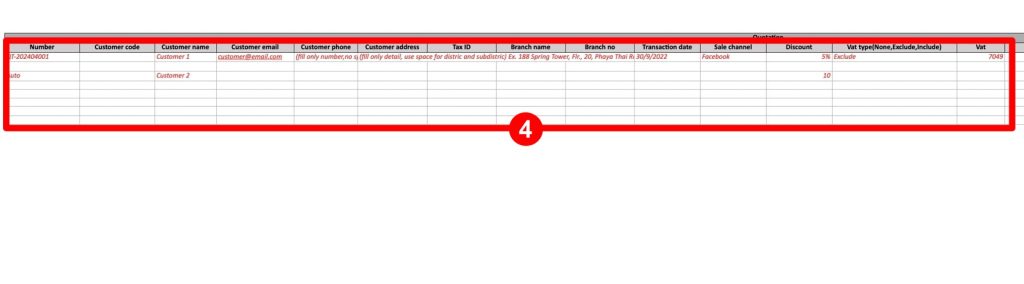
The columns in the quotation file contain the following details:
- Item Number: You can input the item number, or if you want the system to auto-generate the item number, type “Auto.”
- Customer Code: Enter the customer’s code (if available).
- Customer Name: Enter the name of the customer interested in ordering.
- Customer Email: Enter the customer’s email (if available).
- Customer Phone Number: Enter the customer’s phone number (no dashes or spaces; only one number allowed).
- Customer Address: Enter the customer’s address without abbreviations or spaces (e.g., 188 Spring Tower, 20th Floor, Unit 1, 2, Thung Phaya Thai, Ratchathewi, Bangkok 10400).
- Tax ID: Enter the customer’s tax ID number (if available).
- Branch Name: Enter the branch name (if available).
- Branch Number: Enter the branch number (if available).
- Transaction Date: Enter the quotation creation date in the format DD/MM/YYYY (e.g., 30/9/2022).
- Sales Channel: Enter the sales channel (e.g., Facebook).
- Discount at the End of the Bill: Enter any end-of-bill discounts (if available).
- VAT Type: Specify the VAT type, such as “None,” “Separate VAT,” or “Inclusive VAT”:
– If no VAT, write “None.”
– If VAT is separated, write “Separate VAT.”
– If VAT is included, write “Inclusive VAT.”
- VAT Amount: Enter the VAT amount.
- Reference: Enter the reference number (if available).
- Remarks: Enter any additional remarks (if available).
- Tag: Enter any tags you wish to apply; separate multiple tags with commas.
- Shipping Fee: Enter any additional shipping fees (if applicable).
- Shipping VAT: Enter the shipping VAT (if applicable).
- Product Code: Enter the product code (e.g., P001).
- Product Name: Enter the product name (e.g., Product 1).
- Quantity: Enter the quantity the customer is interested in ordering.
- Unit Price: Enter the unit price (e.g., 100).
- Unit Discount: Enter the discount per unit (if applicable).
- If you have more than one product, fill in the information for the next item in the next row.
- To auto-generate item numbers for subsequent rows, type “Auto” in the Item Number column for the next item.
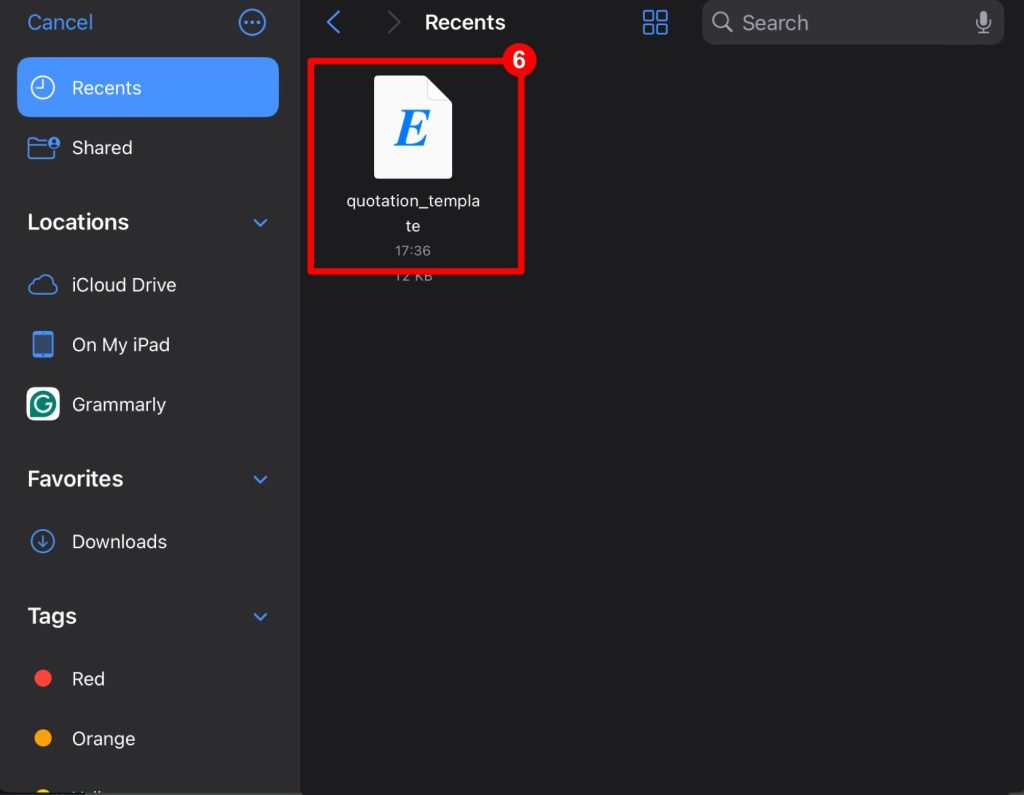
- After filling out the information, go back to the ZORT system and click the “Choose File” button.
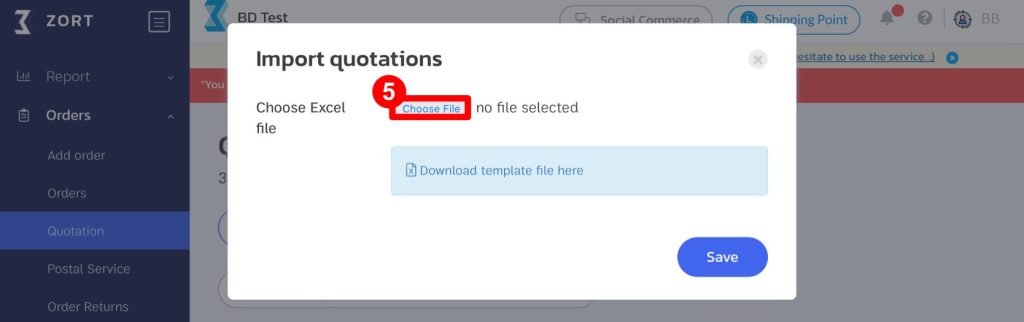
- Select the quotation file you want to upload.
- Click the “Save”.
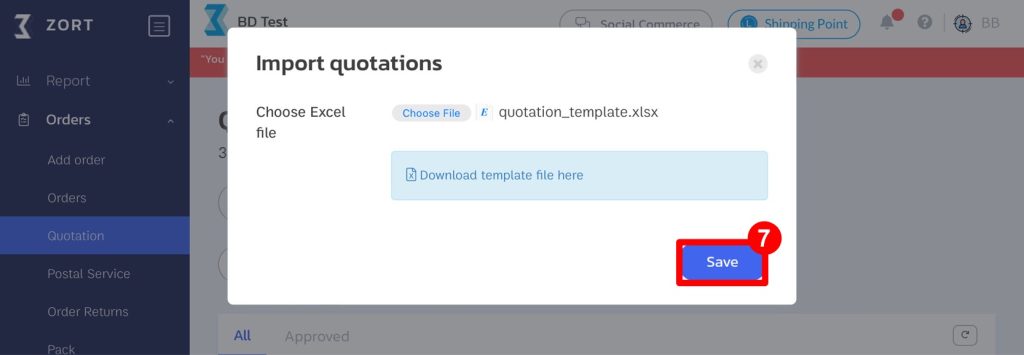
- The system will create the quotation according to the template provided.
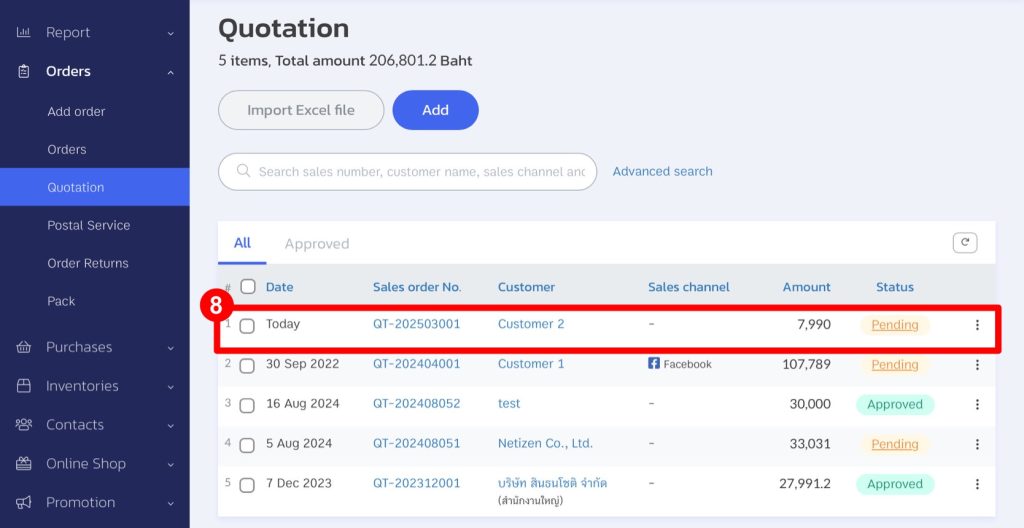
Once completed, your store can create multiple quotations easily.
Interested in a Complete Store Management System?
For more information, contact us:
Email: support@zortout.com
Phone: 02-026-6423
Line: @zort


